Host Frontend on S3
Amazon S3
Amazon S3 (Simple Storage Service) is an object storage service from AWS that allows storing and serving static files such as HTML, CSS, JavaScript, and images. In this project, S3 is used to host a React/Vite frontend application as a static website.
S3 in the Workshop
In this section, we will:
Create an S3 bucket to store the static files of the frontend application (the
dist/folder from step 6).Enable Static website hosting on S3.
Upload static files from React/Vite projects.
Configure public access so users can access the website.
Benefits of using S3:
Low cost: Free Tier provides 5GB storage, 20,000 GET requests, and 2,000 PUT requests for free per month.
Easy to deploy: Supports static website hosting, suitable for React/Vite applications.
Integrated with CloudFront: Accelerates content delivery and supports HTTPS (step 8).
High durability: Ensures data safety with 99.999999999% durability.
Create and configure S3 Bucket
- Access AWS Management Console
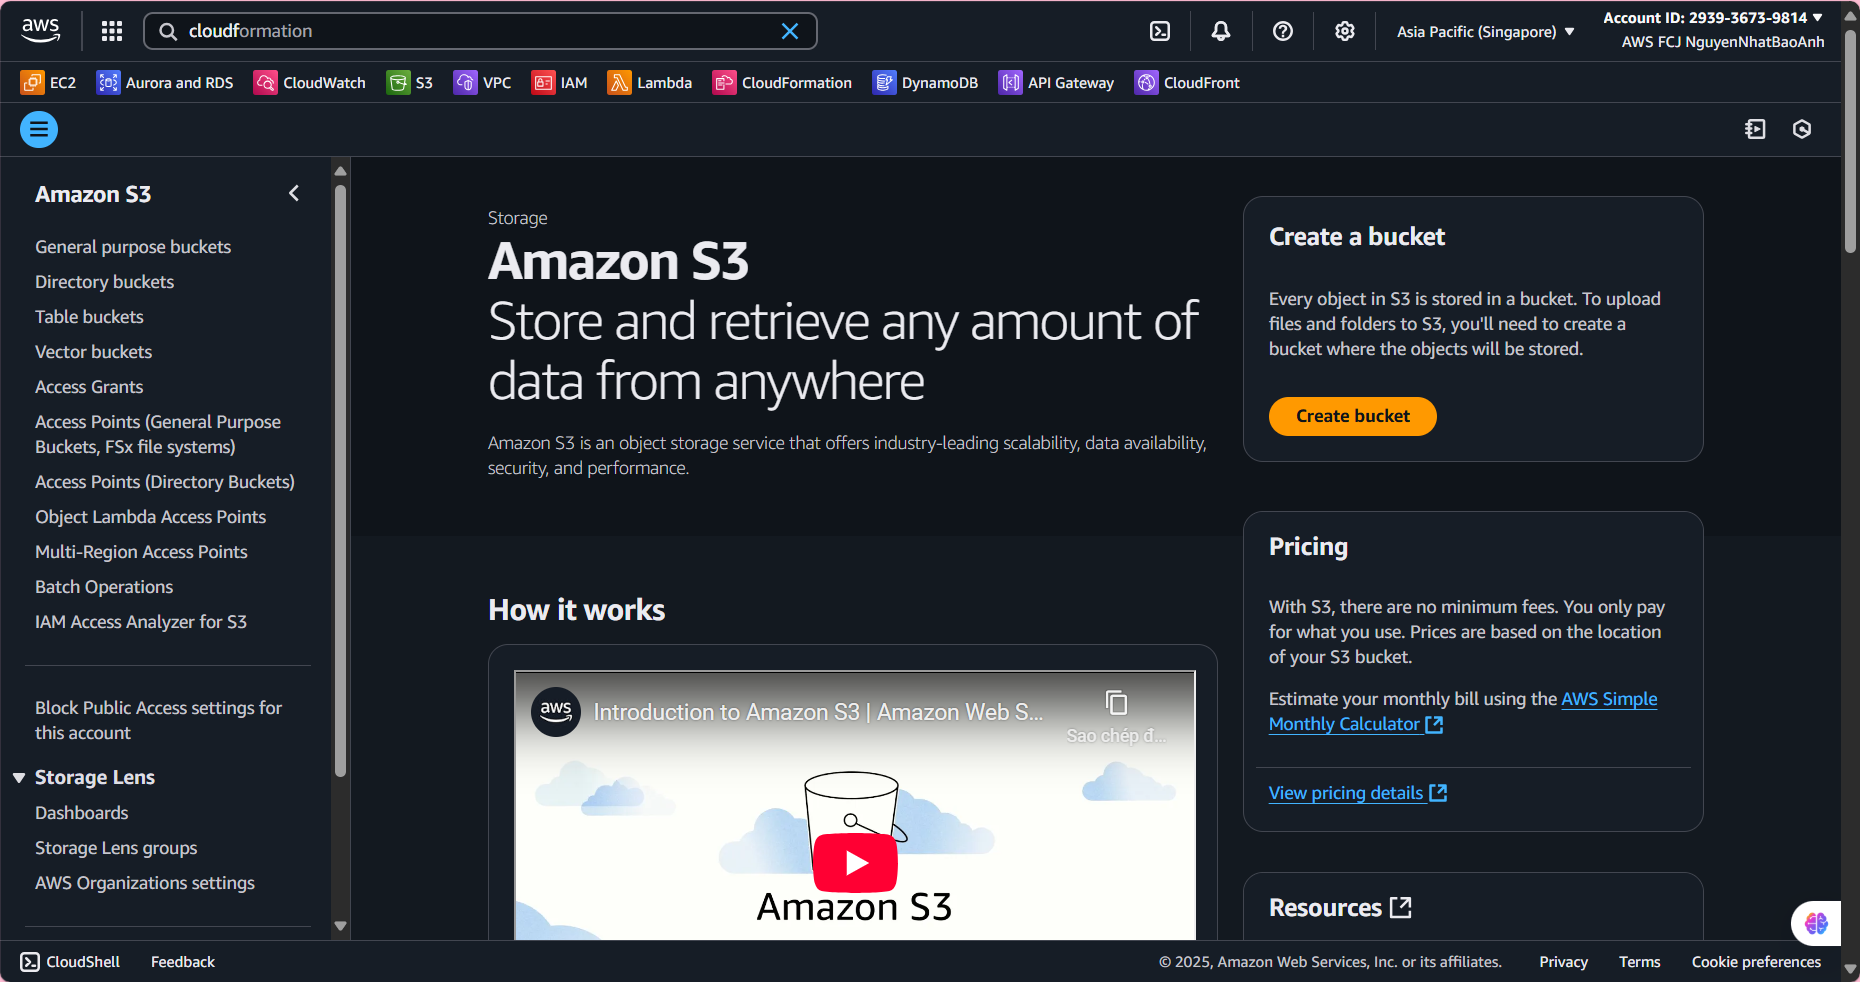
- Find and select S3 in AWS Console.
- Create S3 Bucket
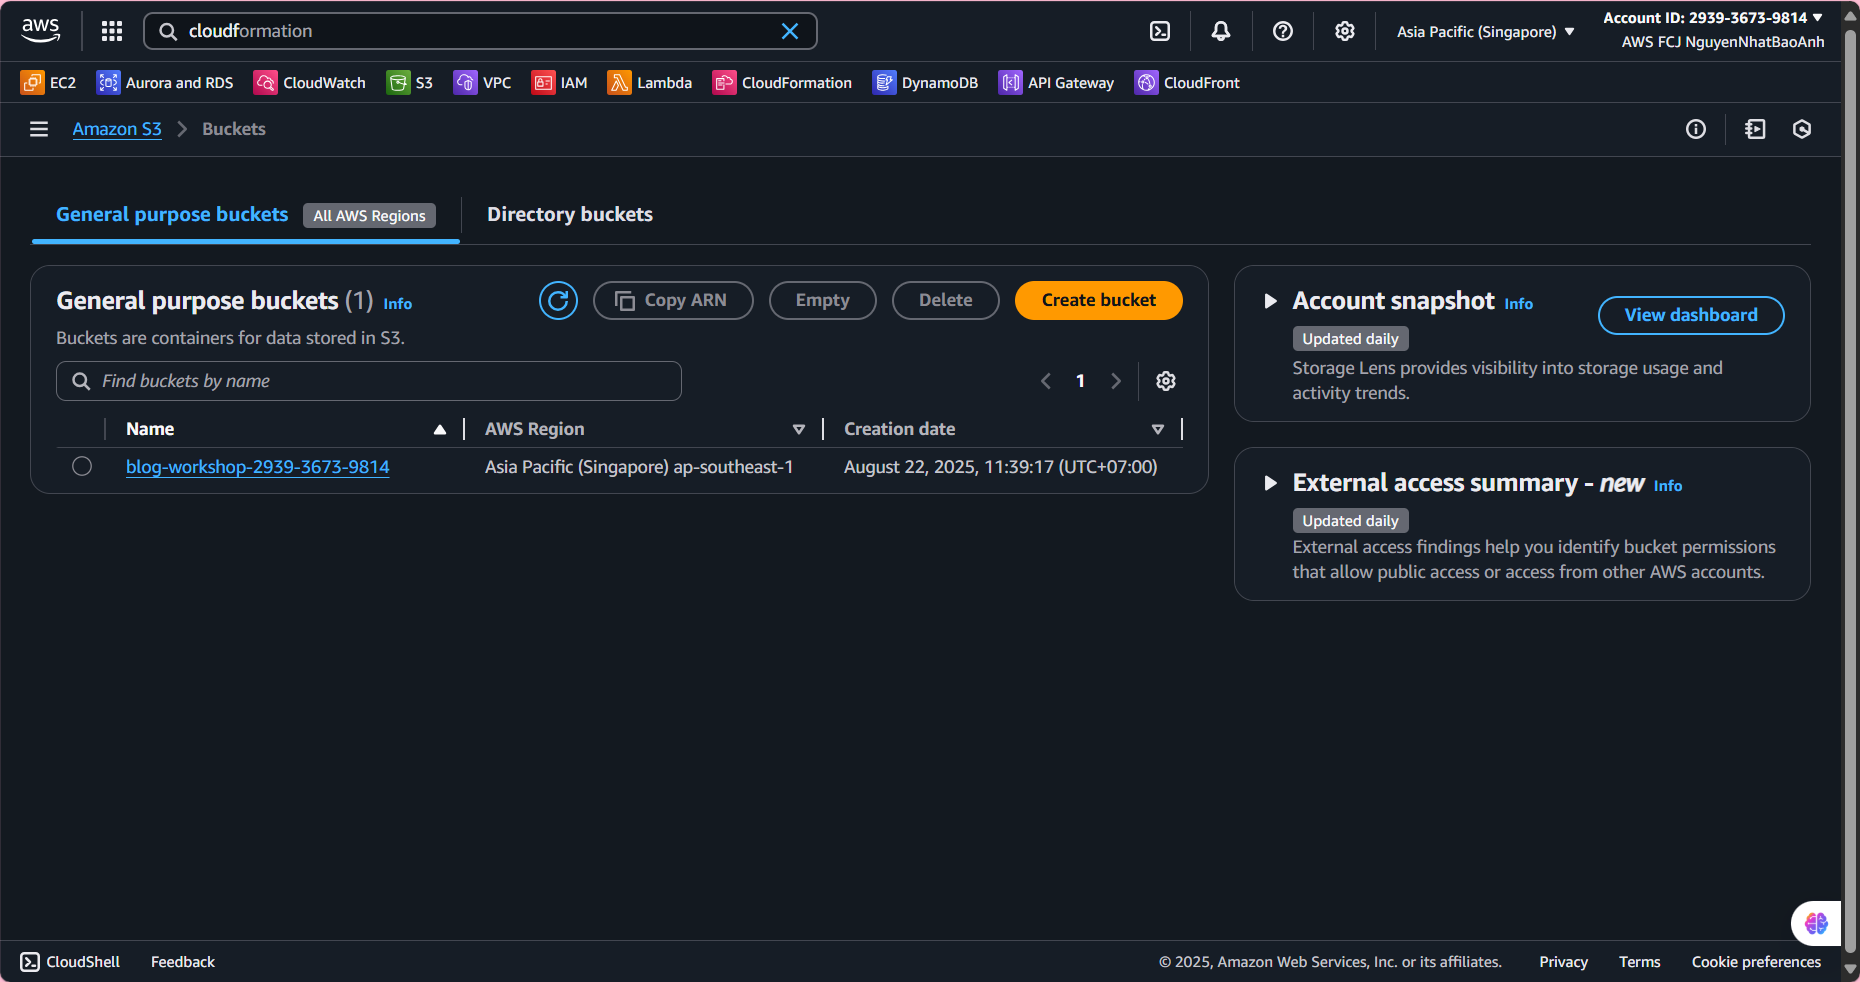
In the S3 interface, select Buckets → Create bucket.
Bucket name: Enter a unique name, for example:
blog-workshop-<your-account-id>.Region: Select the same region as the API Gateway (for example:
us-east-1).Object Ownership: Select ACLs disabled.
Block Public Access settings: Keep the default (will be updated later).
Click Create bucket.
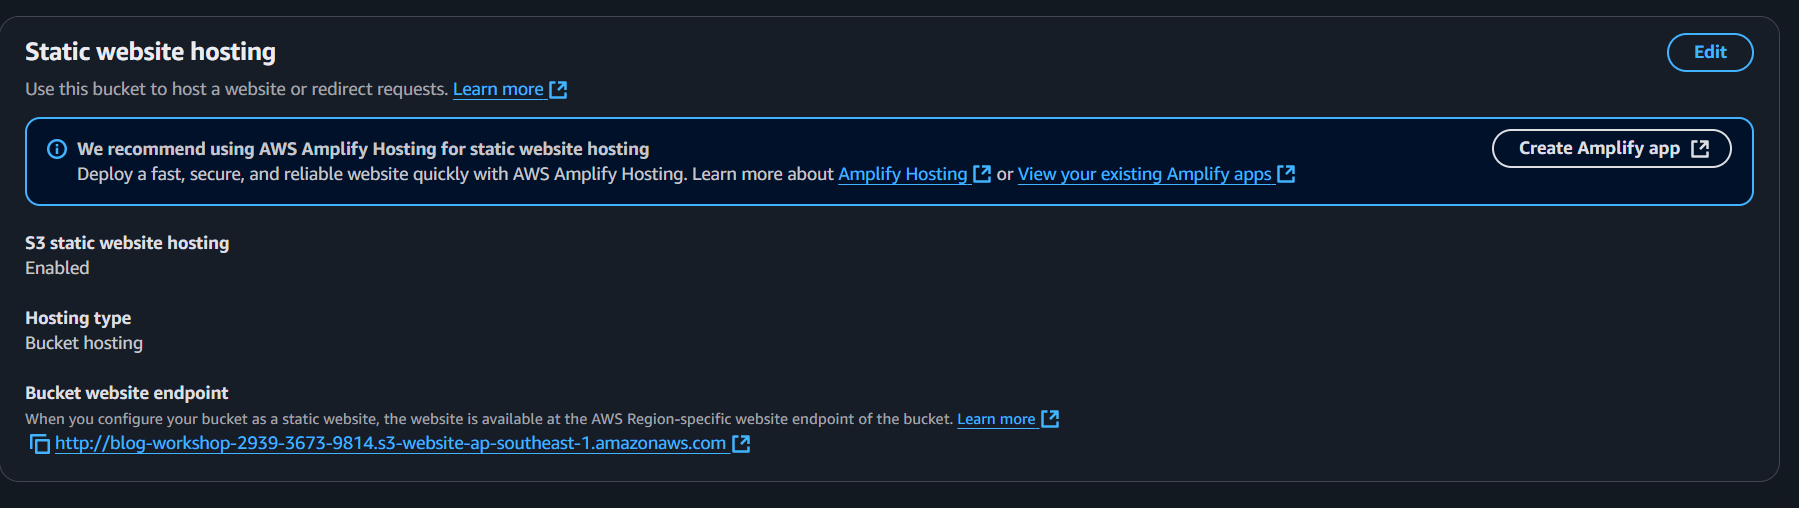
- Enable Static Website Hosting
Open the bucket you just created, select the Properties tab.
Scroll down to Static website hosting, select Edit.
Select Enable.
Index document: Enter
index.html.Click Save changes.
Save the Bucket website endpoint (e.g.
http://blog-workshop-<your-account-id>.s3-website-<region>.amazonaws.com).
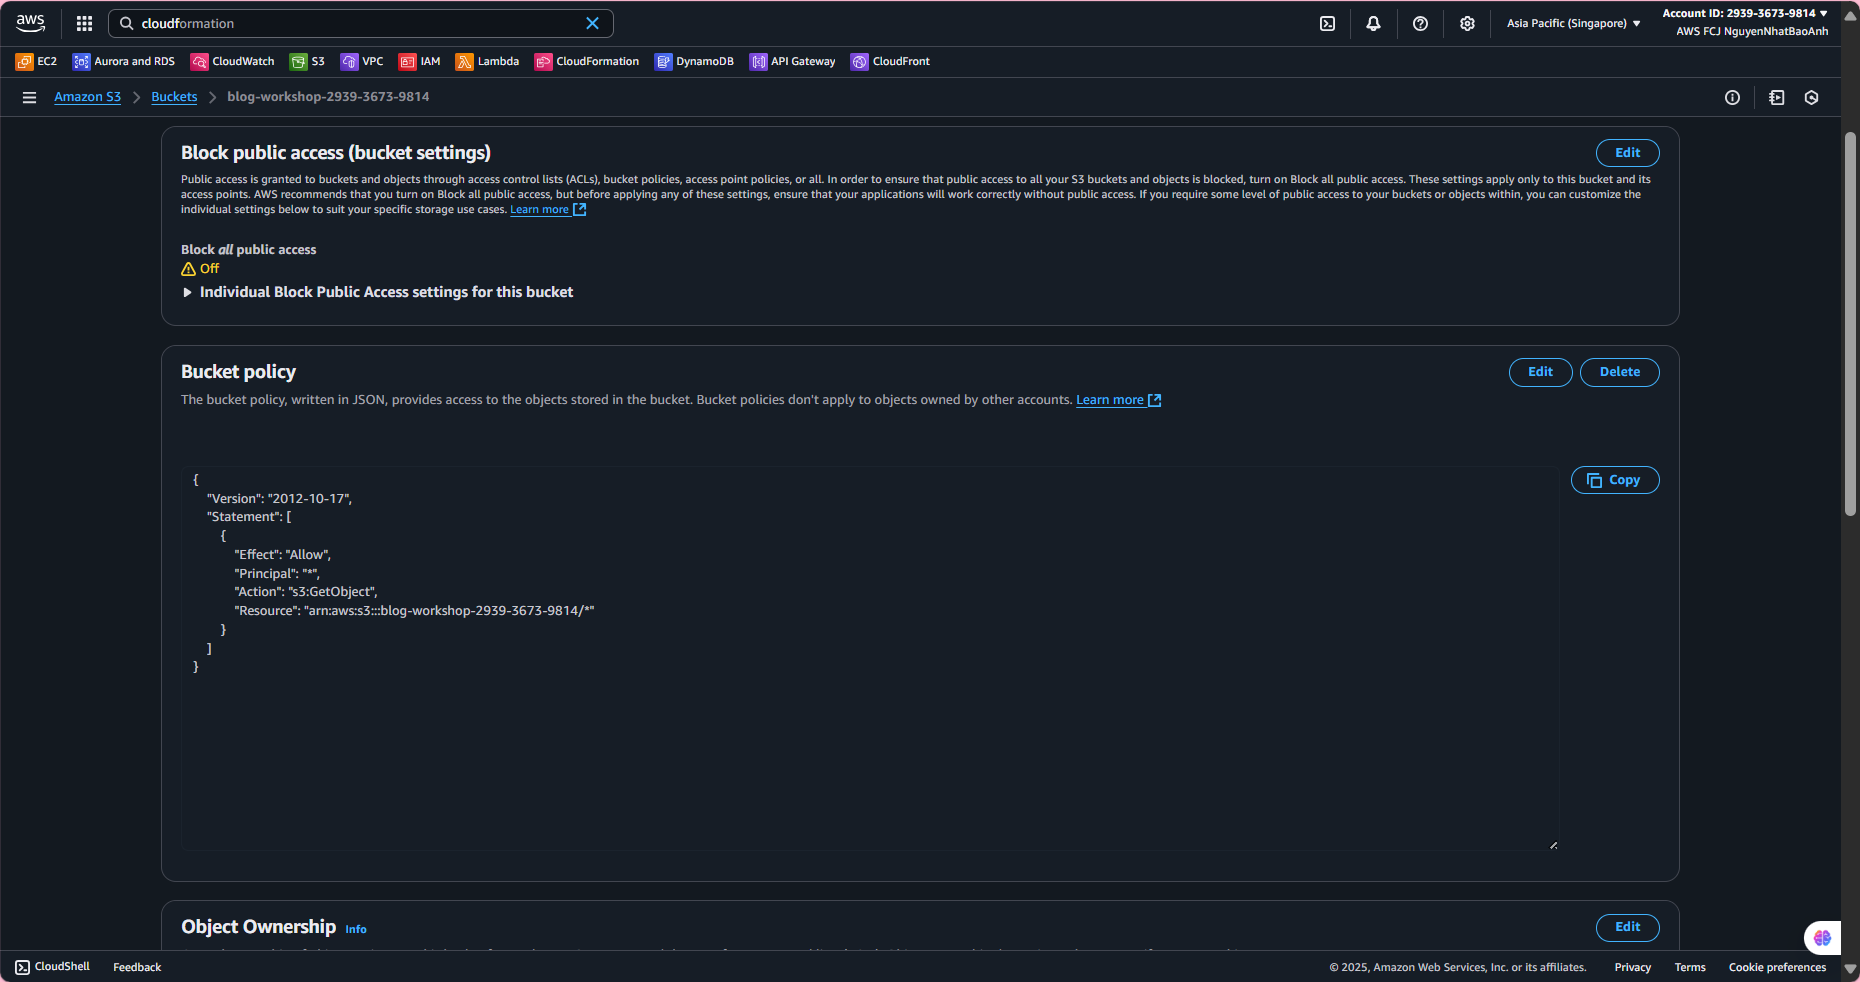
- Configure access rights
In the Permissions tab, select Edit under Block public access.
Uncheck Block all public access and its sub-options, click Save changes.
In Bucket policy, select Edit and add the following policy:
{
"Version": "2012-10-17",
"Statement": [
{
"Effect": "Allow",
"Principal": "*",
"Action": "s3:GetObject",
"Resource": "arn:aws:s3:::blog-workshop-<your-account-id>/*"
}
]
}
- Click Save changes.
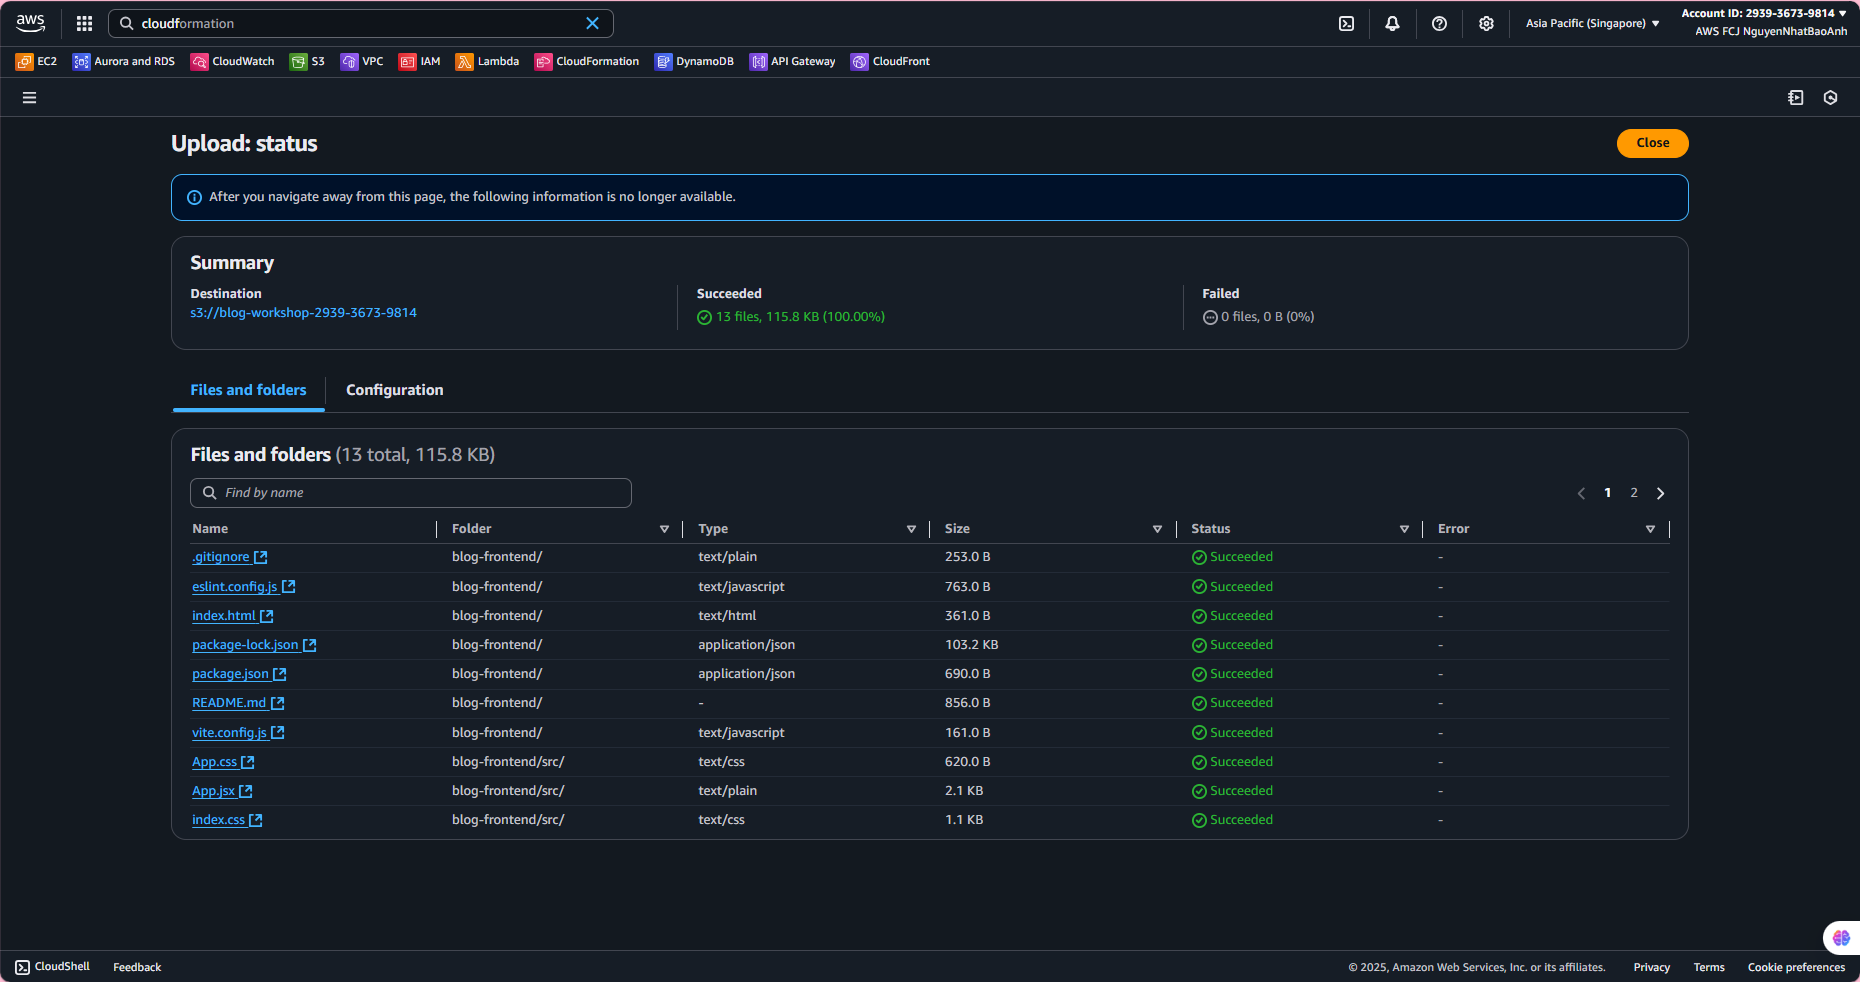
- Upload frontend files
- In the
code/frontend/folder (from step 6), run the build command if you haven’t done so already:
cd code/frontend
npm run build
In the bucket, select Upload and upload the entire
dist/folder.Make sure all files (HTML, CSS, JS) are uploaded with the default Content-Type.
- Test the website
Visit the Bucket website endpoint in your browser (e.g.
http://blog-workshop-<your-account-id>.s3-website-<region>.amazonaws.com).Check the post list and post creation form.
If you encounter an error (e.g. 403 Forbidden):
Check the bucket policy and public access.
Verify the Invoke URL in
src/App.jsxmatches the API Gateway.Check the browser console logs or Lambda’s CloudWatch Logs.
The bucket name must be globally unique (add <your-account-id> to avoid duplicates).
Make sure the bucket policy allows s3:GetObject to be public.
Save the Bucket website endpoint for use in the CloudFront configuration step.
Done
- You’ve created an S3 bucket, enabled static website hosting, and uploaded your frontend application.