Update and Test CloudFront
Update and Test CloudFront
In this section, we will:
Update the bucket policy so that CloudFront can access S3 via Origin Access Control (OAC).
Test the frontend application via CloudFront domain.
Confirm that the website works with HTTPS.
Reasons to update and test:
Security: OAC limits S3 access to CloudFront only, increasing security.
Verify Activity: Make sure the website displays correctly and the API works over HTTPS.
Preparing to Finish: Connect the entire system (frontend, backend, CDN).
Update and Test CloudFront
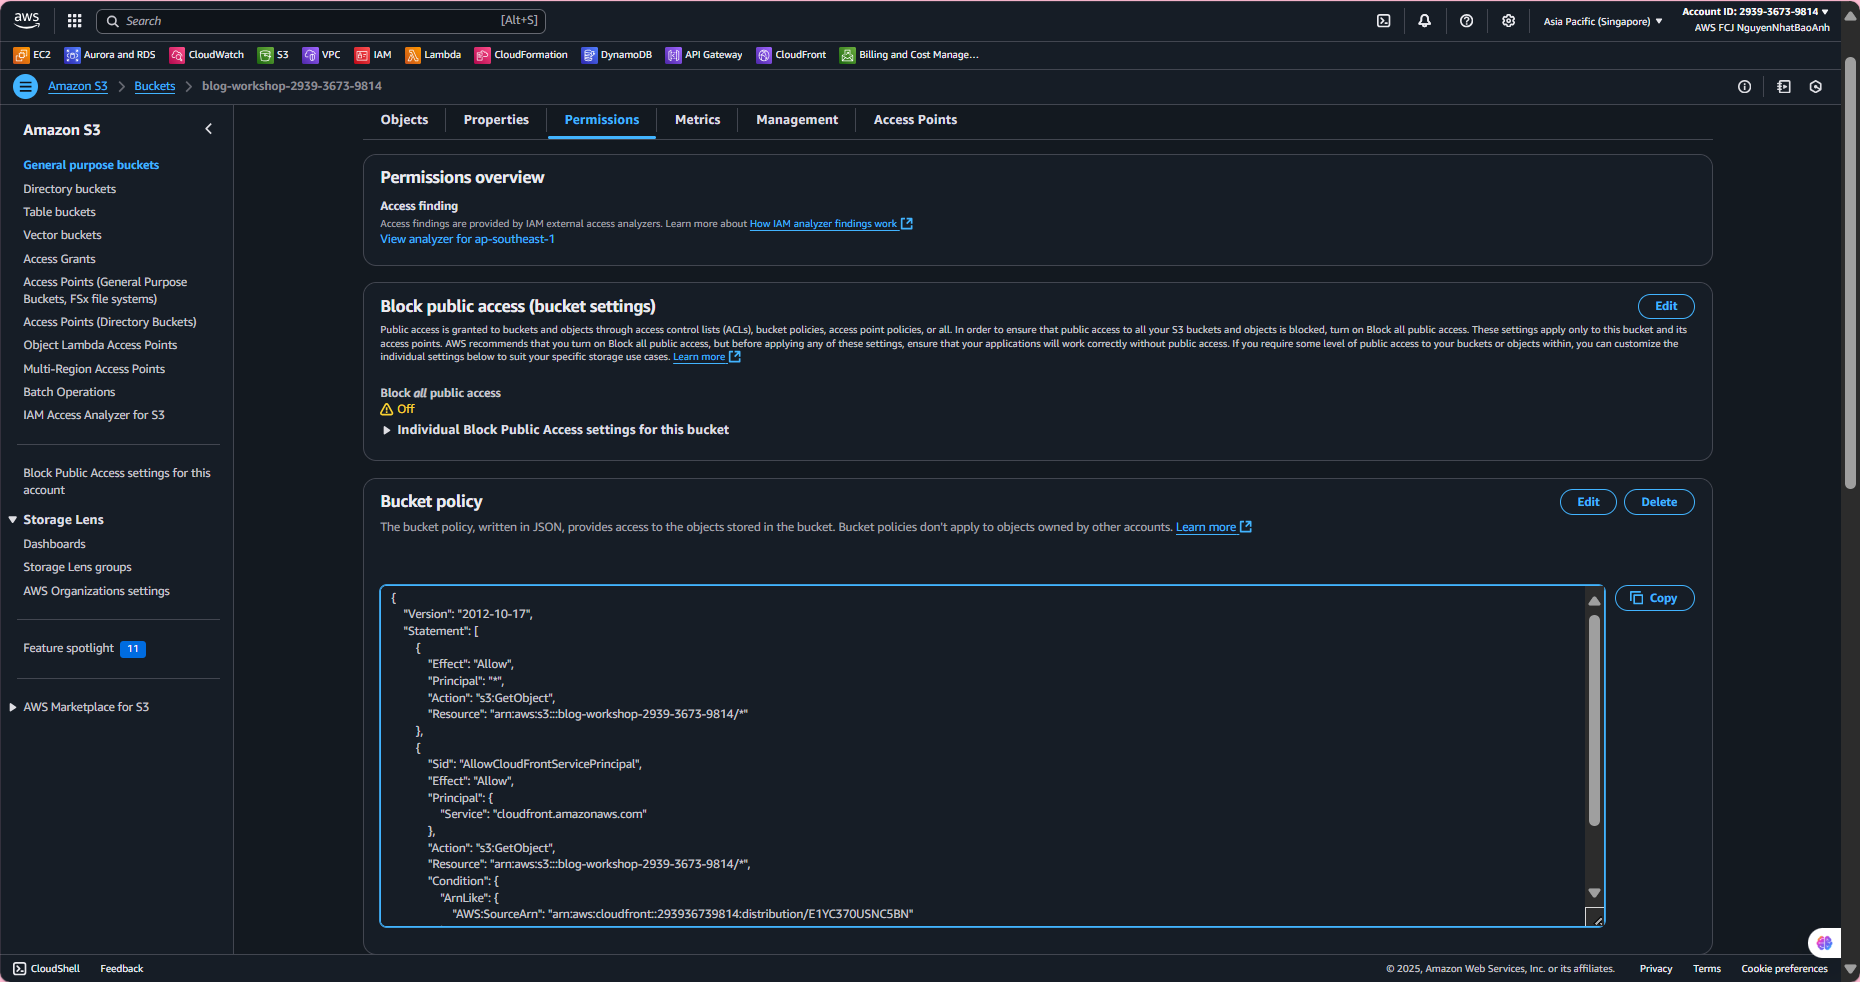
- Update Bucket Policy
Access the S3 bucket (
blog-workshop-<your-account-id>), select the Permissions tab.In Bucket policy, select Edit and replace the current policy with the following policy (replace
<your-bucket-name>and<oac-id>with the bucket name and OAC ID from step 8.1):
{
"Version": "2008-10-17",
"Id": "PolicyForCloudFrontPrivateContent",
"Statement": [
{
"Effect": "Allow",
"Principal": {
"AWS": "arn:aws:iam::cloudfront:user/CloudFront Origin Access Identity <oac-id>"
},
"Action": "s3:GetObject",
"Resource": "arn:aws:s3:::<your-bucket-name>/*"
}
]
}
- Click Save changes.
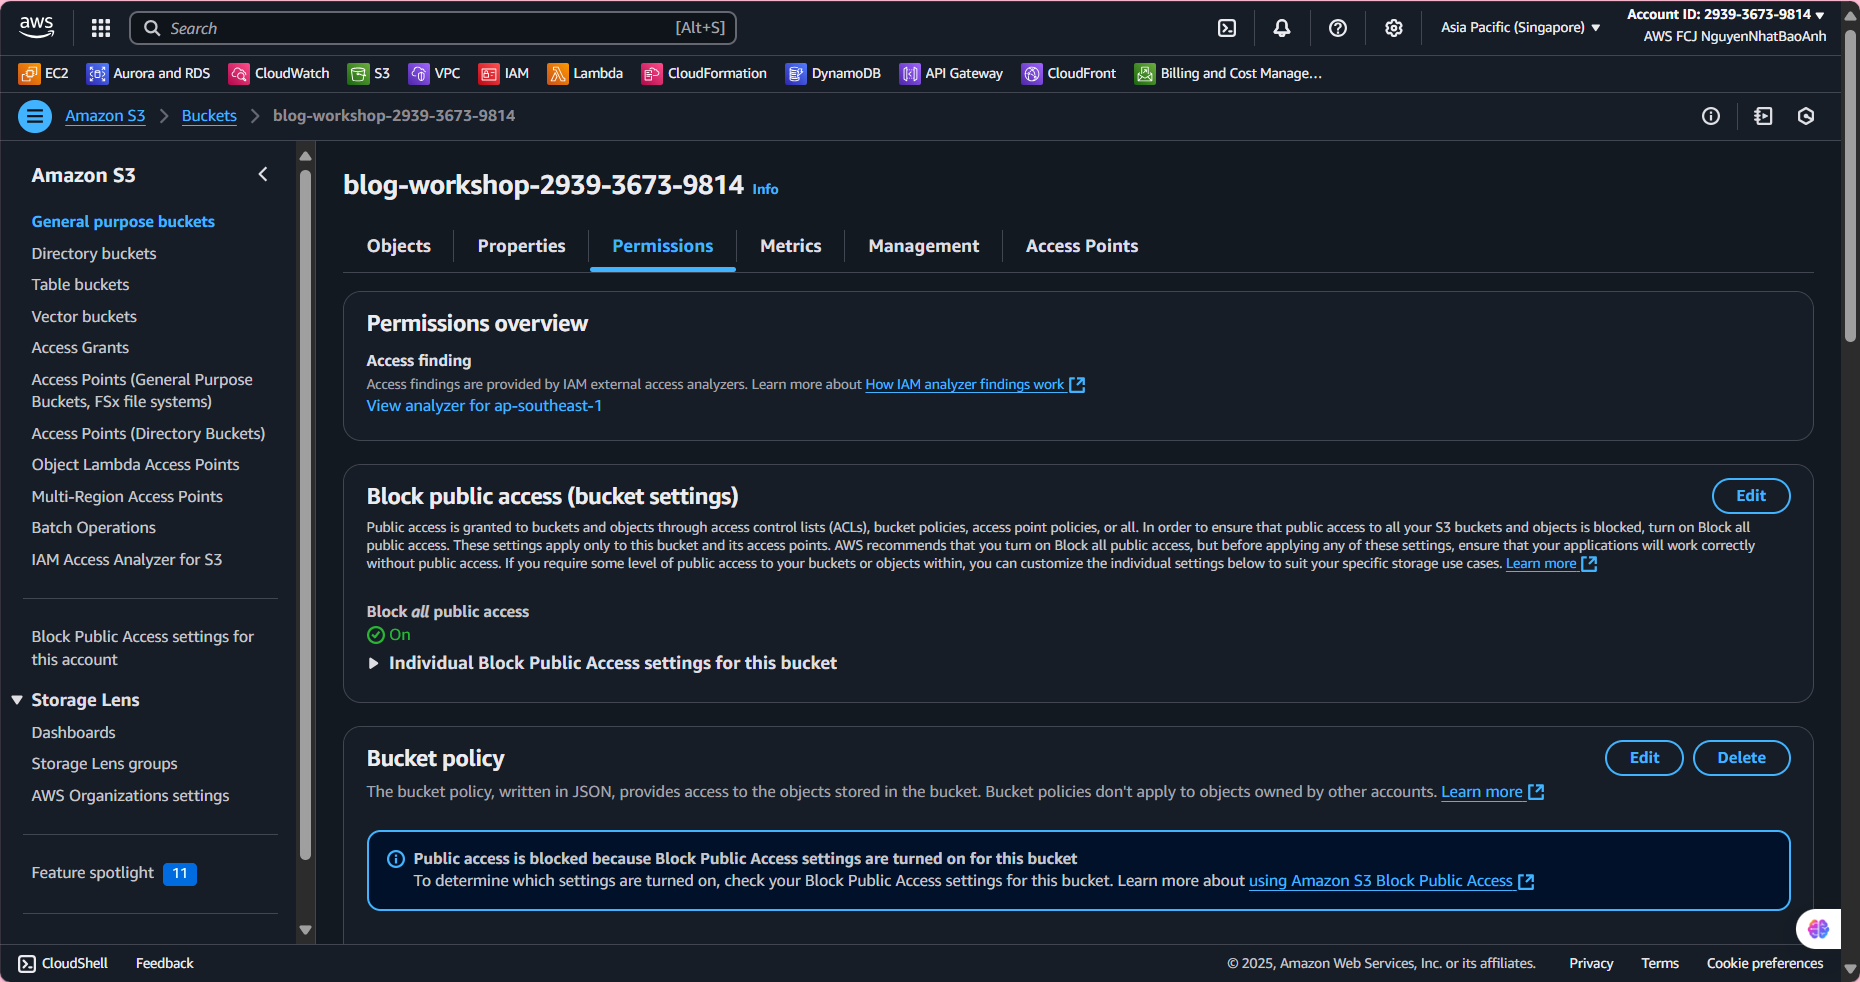
- Disable Public Access
In Permissions, select Edit under Block public access.
Enable Block all public access and all sub-options, click Save changes.
This ensures that only CloudFront can access the bucket.
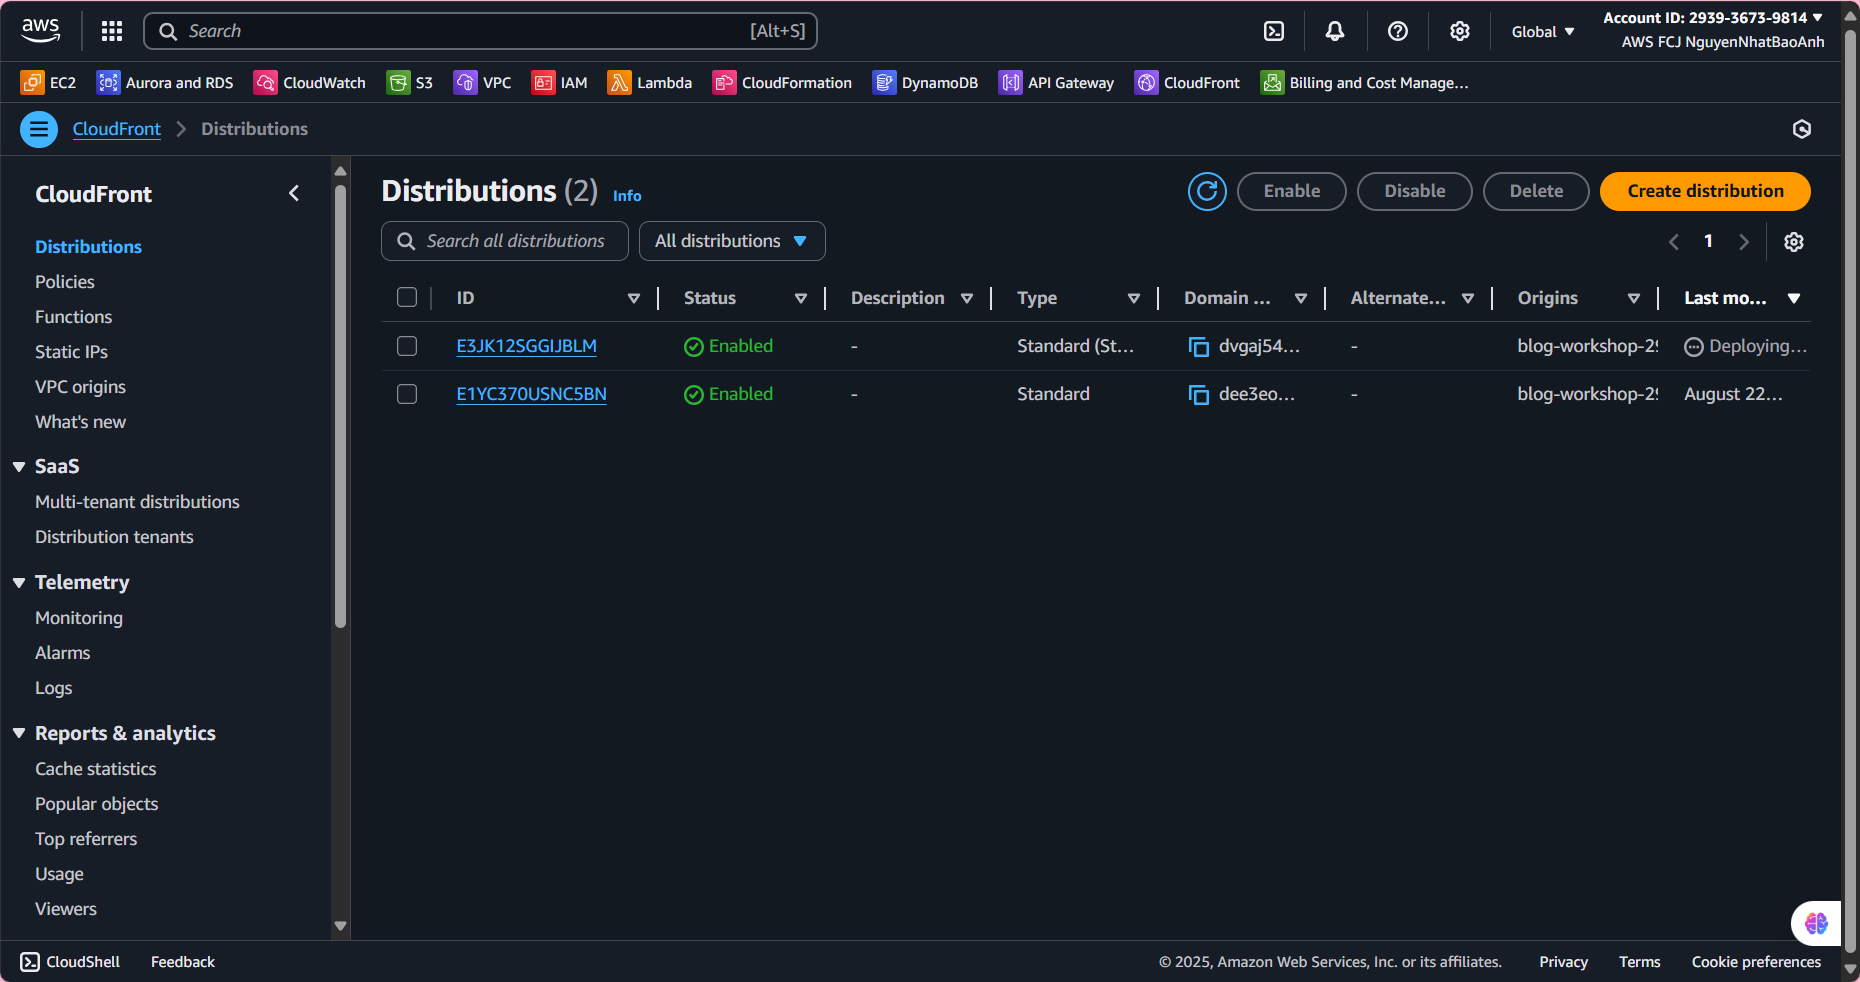
- Test Website via CloudFront
Access the Distribution domain name from step 8.1 (e.g.
https://d1234567890abcdef.cloudfront.net) in your browser.Check the post list and post creation form.
Try creating a new post to confirm API Gateway works over HTTPS.
- Debug errors (if any)
If the website does not display:
Check the bucket policy for the correct OAC ID and bucket name.
Verify that the
index.htmlfile exists in the bucket.If the API does not work:
Check the Invoke URL in
src/App.jsx(step 6).Verify CORS in API Gateway (step 5.2).
Check the browser console log or Lambda’s CloudWatch Logs.
Make sure the bucket policy uses the correct OAC ID and bucket name. Only access the website via Distribution domain name (HTTPS), not using Bucket website endpoint (HTTP). If you get a 403 error, check the OAC and bucket policy.
Done
- You have updated your bucket policy and tested your application over CloudFront with HTTPS.